Delicious Chole Recipe

chole
chole

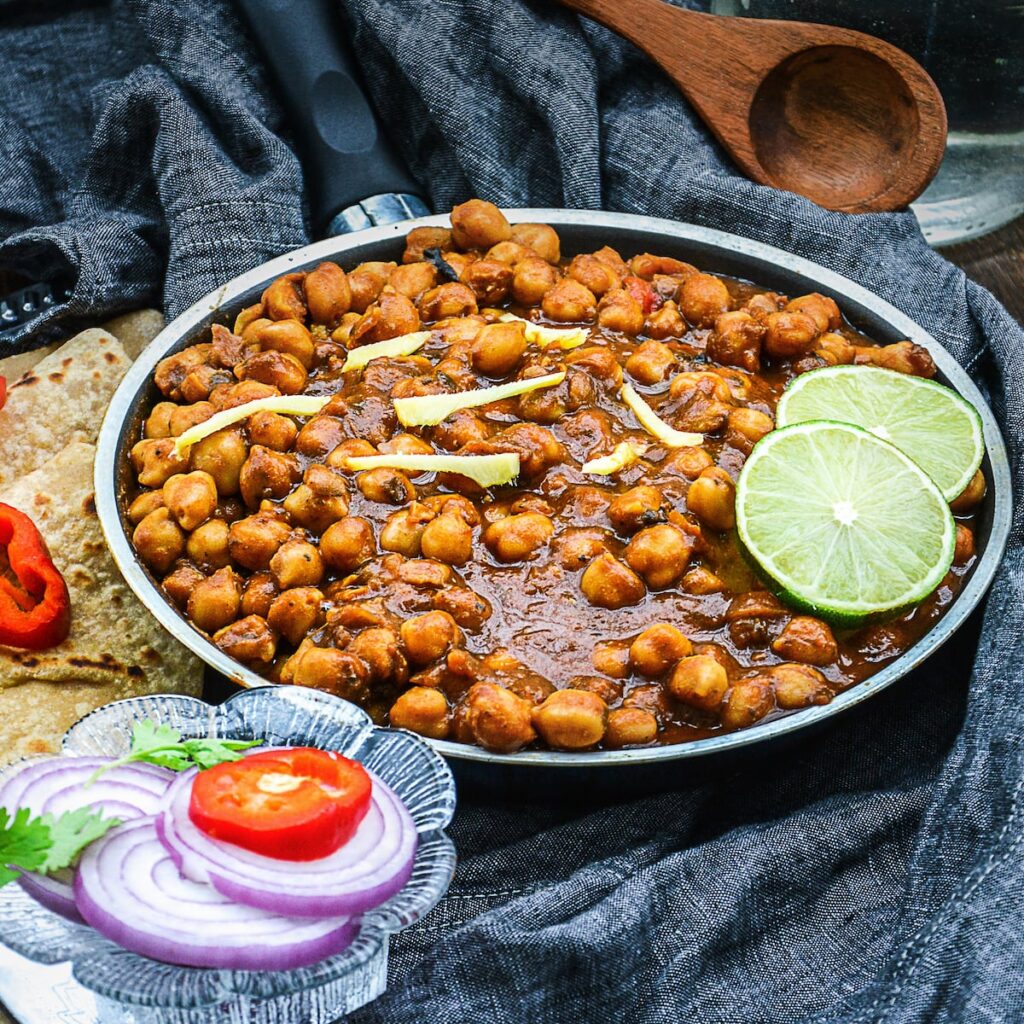
Alright, dear food enthusiasts, buckle up for a flavorful adventure! We’re about to whip up a pot of Chole that’s not just delicious but steeped in the rich, aromatic heritage of Indian cuisine. Ready? Let’s dive in!

Ingredients:

  • 1 cup dried chickpeas (soaked overnight)
  • 2 large onions, finely chopped
  • 2 tomatoes, pureed
  • 1 tablespoon ginger-garlic paste
  • 2 green chilies, slit
  • 1 tablespoon Chole Masala (spice mix)
  • 1 teaspoon cumin seeds
  • 1 teaspoon turmeric powder
  • 1 teaspoon red chili powder
  • 1 teaspoon coriander powder
  • 1 teaspoon garam masala
  • 2 tablespoons vegetable oil
  • Fresh coriander leaves, chopped (for garnish)
  • Salt to taste
  • Water as needed
  • Lemon wedges (for serving)

Cooking Instructions:

1. Nighttime Prep Magic: Begin your Chole adventure the night before by soaking the chickpeas. This little act of prep magic will ensure they’re tender and ready to soak up all the flavors you’re about to throw at them.

2. Pressure Cooker Power: The next morning, drain and rinse those chickpeas. Into the pressure cooker they go with a pinch of salt and enough water to cover them. Cook until they’re soft and perfectly tender. No pressure cooker? No problem. Simmer them in a pot, letting them take their sweet time to reach that tender perfection.

3. Aromatic Beginnings: Heat vegetable oil in a heavy-bottomed pot. Toss in the cumin seeds and let them dance and sizzle, releasing their aroma. In go the finely chopped onions. Sauté them until they turn golden brown, laying down the foundation of flavor.

4. Spices Symphony: Add ginger-garlic paste and slit green chilies. As the aroma fills your kitchen, stir in the turmeric, red chili powder, and coriander powder. Let these spices mingle and marry, creating a rich, flavorful base.

5. Tomato Tango: Pour in the tomato puree and cook until the oil starts to separate from the masala. This is where the magic happens—the tomatoes lose their raw edge and blend into a luscious, rich base. A pinch of salt here helps everything come together faster.

6. Chickpeas Party: Introduce the boiled chickpeas to the masala mix. Stir them well so they’re coated with the spicy, aromatic sauce. Add Chole Masala and garam masala, enhancing the depth of flavors. Need more liquid? Add water gradually to get that perfect consistency.

7. Simmer to Perfection: Let your Chole simmer on a low flame, allowing the flavors to meld beautifully. This is where patience pays off, as the chickpeas soak up all the spicy goodness.

8. Garnish and Serve: Once your Chole has reached flavor nirvana, turn off the heat. Garnish with fresh coriander leaves and a squeeze of lemon juice. Serve hot with fluffy bhaturas, soft naan, or steamed rice. Watch as your guests dig in with delighted anticipation.

There you have it—an engaging, flavorful journey through the art of making traditional Indian Chole. Each step not only brings you closer to a delicious meal but also immerses you in the rich culinary heritage of India. Bon appétit! 🌟

Are you ready to cook up a storm and impress your taste buds?

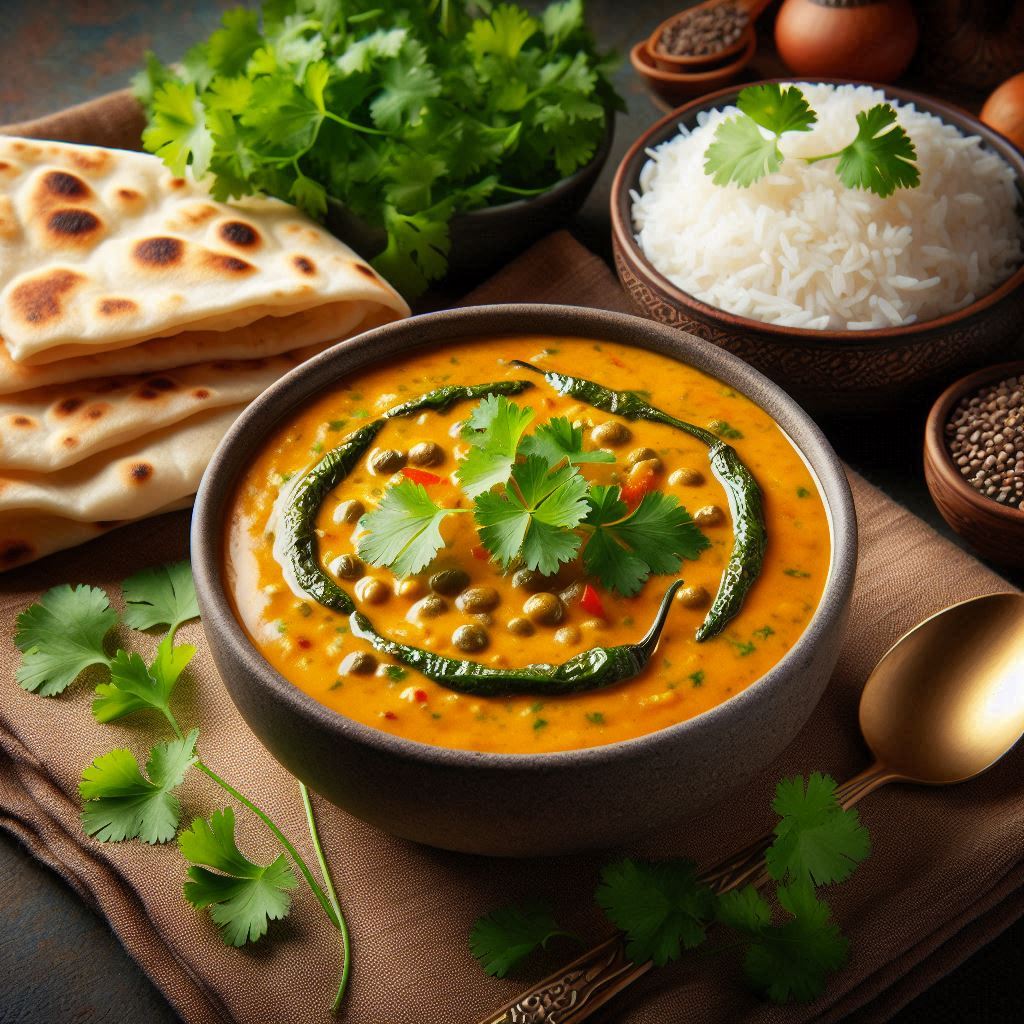
Dal Makhani Recipe Without a Pressure Cooker

Dal Makhani

dal makhani
dal makhani

Ingredients:

  • ¾ cup whole urad dal (black gram) Buy Now
  • ¼ cup rajma (kidney beans) Buy Now
  • 4 cups water (for soaking and cooking)
  • ½ cup finely chopped onions Buy Now
  • 1 teaspoon chopped green chilies Buy Now
  • 2 teaspoons ginger garlic paste
  • 2 large tomatoes, pureed Buy Now
  • ½ teaspoon cumin seeds Buy Now
  • 3 cloves Buy Now
  • 3 green cardamoms Buy Now
  • 1 inch cinnamon stick Buy Now
  • 1 medium Indian bay leaf (tej patta) Buy Now
  • ½ teaspoon red chili powder Buy Now
  • 3 pinches grated nutmeg
  • 1 cup water (or as required)
  • ⅓ cup half & half or light cream
  • ¼ teaspoon crushed dry fenugreek leaves (kasuri methi, optional) Buy Now
  • 3 tablespoons butter Buy Now
  • Salt to taste
  • 1 small piece of charcoal (for smoky flavor, optional)
  • ⅔ teaspoon oil (any neutral tasting oil) Buy Now
  • 2 tablespoons chopped coriander leaves (cilantro)
  • 1 tablespoon light cream (for garnish, optional)
  • 1 inch ginger, julienned (optional) Buy Now

Instructions:

  1. Soak and Cook Lentils: Soak the urad dal and rajma overnight. Drain and rinse. In a large pot, add the soaked lentils and 4 cups of water. Bring to a boil, then reduce the heat and simmer until the lentils are soft, about 1.5 to 2 hours. Stir occasionally and add more water if needed.
  2. Prepare the Base: In a separate pan, heat oil and butter. Add cumin seeds, cloves, cardamoms, cinnamon, and bay leaf. Sauté until fragrant.
  3. Add Aromatics: Add onions and green chilies. Sauté until onions are golden. Add ginger garlic paste and sauté until the raw smell disappears.
  4. Tomato Puree: Add tomato puree and cook until oil separates from the mixture.
  5. Spices: Add red chili powder, grated nutmeg, and salt. Mix well.
  6. Combine Lentils: Add the cooked lentils and rajma along with the cooking water. Add more water if needed. Simmer on low heat for 30-40 minutes, stirring occasionally.
  7. Cream and Fenugreek: Add half & half or light cream and crushed fenugreek leaves. Simmer for another 10-15 minutes.
  8. Smoky Flavor (Optional): Heat a small piece of charcoal until red hot. Place it in a small bowl, add a few drops of oil, and place the bowl in the dal. Cover immediately to infuse the smoky flavor. Remove the bowl after a few minutes.
  9. Garnish: Garnish with chopped coriander leaves, julienned ginger, and a drizzle of light cream.

Serving:

Serve hot with naan, roti, or rice. Enjoy the rich and creamy flavors of this classic dish!

Feel free to adjust the spices and cream to your taste. Happy cooking! 😊🍛

Samosa : A Crispy Delight

Introduction

Ah, the humble samosa! A crispy, golden triangle of joy that has graced Indian tables for generations. But wait, we’re not just making any samosa here – we’re adding a dash of Naan Sense to it! So put on your apron, channel your inner chef, and let’s dive into this flavorful adventure of a samosa recipe!

Ingredients

For the Dough:

  • 2 cups all-purpose flour Buy Now
  • 1/4 teaspoon carom seeds (ajwain) Buy Now
  • 1/4 cup oil or ghee Buy Now
  • Salt to taste Buy Now
  • Water for kneading

For the Filling:

  • 3 medium-sized potatoes, boiled, peeled, and mashed Buy Now
  • 1/2 cup green peas (fresh or frozen) Buy Now
  • 1/2 teaspoon cumin seeds Buy Now
  • 1/2 teaspoon grated ginger Buy Now
  • 1/2 teaspoon finely chopped green chili Buy Now
  • 1/2 teaspoon coriander powder Buy Now
  • 1/2 teaspoon garam masala Buy Now
  • 1/2 teaspoon amchur (dried mango powder) Buy Now
  • 1 tablespoon oil Buy Now
  • Salt to taste Buy Now
  • Oil for deep frying Buy Now

Cooking Adventure Begins!

Dough Preparation:

  1. In a mixing bowl, combine the all-purpose flour, carom seeds, oil or ghee, and salt. Mix well until the mixture resembles breadcrumbs.
  2. Gradually add water and knead to form a smooth and firm dough. Cover it with a damp cloth and let it rest for about 30 minutes.

Filling Fun:

  1. Heat oil in a pan over medium heat. Add cumin seeds and let them splutter.
  2. Add grated ginger, chopped green chili, and sauté for a minute.
  3. Throw in the green peas and cook until they’re tender.
  4. Now, add the mashed potatoes, coriander powder, garam masala, amchur, and salt. Mix well and let the flavors dance together. Remove from heat and let the filling cool.

Samosa Assembly and Frying:

  1. Divide the dough into small lemon-sized balls and roll each ball into a thin oval shape.
  2. Cut each oval in half. Take one half and fold it into a cone shape, sealing the edges with water.
  3. Fill the cone with the heavenly potato-pea filling and seal the top by pressing the edges together firmly.
  4. Heat oil in a deep pan or kadhai over medium heat for frying.
  5. Carefully slide a few samosas into the hot oil and fry them until they turn into crispy, golden wonders. Remove and drain on a paper towel.
  6. Repeat the frying process for the remaining samosas.

Serving Magic:

  1. Serve the hot and crispy samosas with your favorite chutney or ketchup.
  2. They can be enjoyed as a snack, a party appetizer, or even as part of a meal. The choice is yours!

Tip:

  • Add a Twist: Experiment with different fillings – try paneer, minced meat, or even a sweet version with khoya and nuts!

So there you have it – your very own Naan Sense Samosas! Share them with friends, family, or keep them all to yourself (we won’t judge). Happy cooking, and remember, every samosa tells a delicious story! 🥟🔥👨‍🍳

Cooking with Flair: A Delicious Dosa Recipe Using Batter

Crispy Dosa Delight: From Batter to Plate

Ingredients:

  • 2 cups of dosa batter (homemade or store-bought) Buy Now
  • 1 tablespoon oil or ghee
  • A pinch of salt (if not already in the batter)
  • Water as needed
  • Optional: chutney and sambar for serving

Instructions:

1. Prepare Your Dosa Batter: If you’re using store-bought batter, check its consistency. It should be pourable but not too runny. Add a little water if needed, stirring until smooth. If it’s homemade, ensure it’s well-fermented and ready to go.

2. Heat the Pan: Preheat a non-stick skillet or a traditional cast-iron tava over medium heat. It should be hot but not smoking.

3. Spread the Batter: Pour a ladleful of batter into the center of the pan. Using the back of the ladle, gently spread the batter in circular motions, working from the center outwards. Aim for a thin, even layer.

4. Cook the Dosa: Drizzle a few drops of oil or ghee around the edges and on top of the dosa. Cook until the edges start to lift and become golden brown. The center should be crispy and slightly browned. If you prefer it softer, reduce the cooking time slightly.

5. Flip or Fold: Optional but traditional: Once the dosa is cooked through, you can fold it in half or roll it up. If you prefer it crispier, no need to flip.

6. Serve Hot: Slide your dosa off the pan and onto a plate. Serve it immediately with a side of coconut chutney, tomato chutney, or a steaming bowl of sambar.

Enjoy your delicious dosa, a true taste of South India, made effortlessly at home! Perfect for breakfast, lunch, or even a quick snack. 🍽️

Paneer Tikka : A Flavorful Delight

  • 250 grams of paneer (Indian cottage cheese), cut into bite-sized cubes Buy Now
  • 1 large bell pepper (capsicum), cut into chunks
  • 1 large onion, separated into layers Buy Now
  • 1 cup thick yogurt Buy Now
  • 2 tablespoons ginger-garlic paste  Buy Now
  • 1 teaspoon red chili powder Buy Now
  • 1 teaspoon garam masala Buy Now
  • 1 teaspoon ground cumin Buy Now
  • 1 teaspoon ground coriander Buy Now
  • 1/2 teaspoon turmeric powder  Buy Now
  • 1 tablespoon lemon juice
  • Salt to taste  Buy Now
  • 2 tablespoons vegetable oil  Buy Now
  • Wooden skewers, soaked in water for 30 minutes
  1. In a mixing bowl, combine the yogurt, ginger-garlic paste, red chili powder, garam masala, cumin, coriander, turmeric powder, lemon juice, and salt. Mix well to create a flavorful marinade.
  2. Add the paneer cubes, bell pepper, and onion layers to the marinade. Ensure that each piece is well-coated. Let it marinate for at least 1 hour (overnight for best results).
  1. Preheat your grill or oven to 375°F (190°C).
  2. Thread the marinated paneer, bell pepper, and onion onto the soaked wooden skewers, alternating between the ingredients.
  3. Brush the skewers with vegetable oil to prevent sticking.
  4. Place the skewers on the grill or oven rack. Cook for 15-20 minutes, turning occasionally, until the paneer and vegetables are charred and cooked through.
  1. Remove the skewers from the grill and let them rest for a few minutes.
  2. Serve the Paneer Tikka hot, garnished with fresh coriander leaves and lemon wedges.
  3. Accompany it with mint chutney or tamarind sauce for an extra burst of flavor.
  • Tandoori Twist: If you have a tandoor or clay oven, use it for an authentic smoky flavor.
  • Veggies Galore: Feel free to add other vegetables like mushrooms, zucchini, or cherry tomatoes to your skewers.
  • Paneer Perfection: Use firm paneer to prevent it from crumbling during grilling.
  • Spice Level: Adjust the red chili powder according to your spice preference.

Remember, cooking is not just about ingredients; it’s about creating memories. So fire up that grill, gather your loved ones, and enjoy the warmth of Paneer Tikka – a true taste of India!